There are times when bouncing the flash is impossible, such as high ceilings, coloured walls and outdoors. Photographers will then have to rely on a flash diffuser to diffuse the flash. The purpose of a flash diffuser, as the name suggests, is to diffuse or scatter the flash light in multiple angles, hence giving an overall illumination effect. Such an effect suppresses harsh shadows cast by a much more directed flash light. The Nikon SB-800 comes with a standard silicon flash diffuser, similar to that of the aftermarket Stofen Omnibounce. Another famous and well-received flash diffuser used by many professionals, is the Lightsphere by Gary Fong. There are many imitations of the real products, but even if they live up to the original's functionality, the price is still one important consideration. A China-made replica of the Lightsphere can cost around S$60.
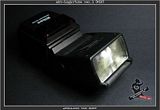
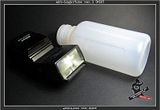
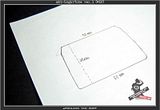
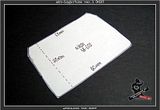
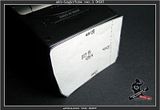
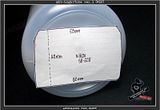
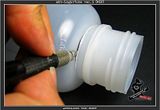
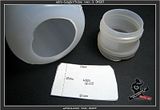
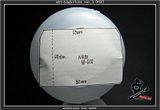
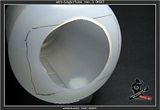
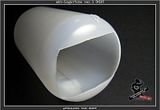
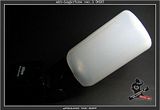
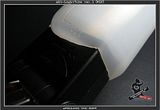
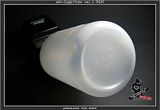
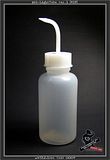
I decided to make my own DIY version of a flash strobe diffuser. mimicking the famous Gary Fong's Lightsphere CLOUD. I found any empty squeeze bottle, commonly used in the laboratory or hair salons to dispense chemicals. The one I got was rather translucent which I felt would be ideal as a diffuser. The material is soft and can be easily handled. Here, I give a step-by-step work-in-progress account of making the mbb-LightTube ver.1.
I decided to make my own DIY version of a flash strobe diffuser. mimicking the famous Gary Fong's Lightsphere CLOUD. I found any empty squeeze bottle, commonly used in the laboratory or hair salons to dispense chemicals. The one I got was rather translucent which I felt would be ideal as a diffuser. The material is soft and can be easily handled. Here, I give a step-by-step work-in-progress account of making the mbb-LightTube ver.1.
1. Prepare the raw material.
THE TRIAL
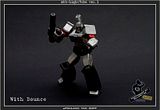
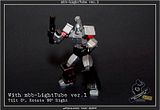
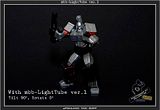
Right: With Bounce from ceiling (Tilt: 90 degrees, Rotation: 0 degree)
THE VERDICT
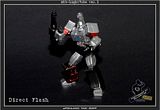
The mbb-LightTube ver.1 (quite a mouthful, so I will refer it as LTv.1) fits well on the flash head and does not slide down the flash head when tilted at 90 degrees (upright). Direct flash gives very harsh shadows. With bounce flash from the ceilings, the face of Megatron is hidden in the shadows. With the LTv.1, the shadows are more prominent than with bounce flash, but significantly softer compared to direct flash. Tilting and rotating the flash head (with LTv.1) at various configuations, different outcomes can be achieved. It definitely works here, but I will need to bring it outdoors to test it on a human subject before I can pass a firmer verdict.
technorati tags
2 comments:
What a good trick in order to take photographs, especially for our collections of figures! This Megatron looks very nice. I had needed to Buy Viagra to take pics like those.
I admire the valuable information you provide in your articles. I'll mark your blog and see my friends here often. I'm sure you will learn many new things here than anyone else!
Post a Comment